Harsh sunlight? Don't fright!
As photographers, we shoot in many different locations, with different backgrounds/settings and most importantly - in lots of different lighting scenarios! I know that since I started photography years ago, I have always preferred to shoot on cloudy days for a natural soft box effect and an even exposure across my subject and background. However, we can't expect everyday of every shoot to be overcast! We also can't expect the lovely golden hour to fit into every client's unique schedule. Thus - bring on that harsh 12-3pm sun!
When I first started shooting in harsh light, I honestly had no clue how to handle it. My subjects had unpleasant shadows on their faces, my exposure was out of whack, and overall my photos never turned out how I imagined. While I still am not perfect at shooting in harsh light (I learn more and more at every shoot), I have come a very long way! Below I will share 5 tips that have helped me learn to love my photos - even in a lighting situation that is not ideal for my personal style.
1. Ignore the light meter and push that exposure!
First things first, make sure you are shooting in manual mode. When in a harsh light situation, your camera will automatically underexpose to make up for the insane amount of light coming in. In manual, you can override this by pushing your exposure to the limits - AKA - overexpose!! Don't worry about what the light meter is telling you. Slow the shutter speed down enough until you are happy with the results. The below photo was taken at 2:30pm. I pushed the exposure to create even skin tones:
ISO 100, f/2.2, 1/200sec

2. Open up the aperture!
Widening your aperture can help a ton in harsh light scenarios. It can blur out that background and help evenly distribute light onto your subjects. I typically like to shoot around f/2.8 (even on a cloudy day) but do have to monitor to make sure I keep a sharp focus. The below photo is a great example of f/2.8 at 1pm.

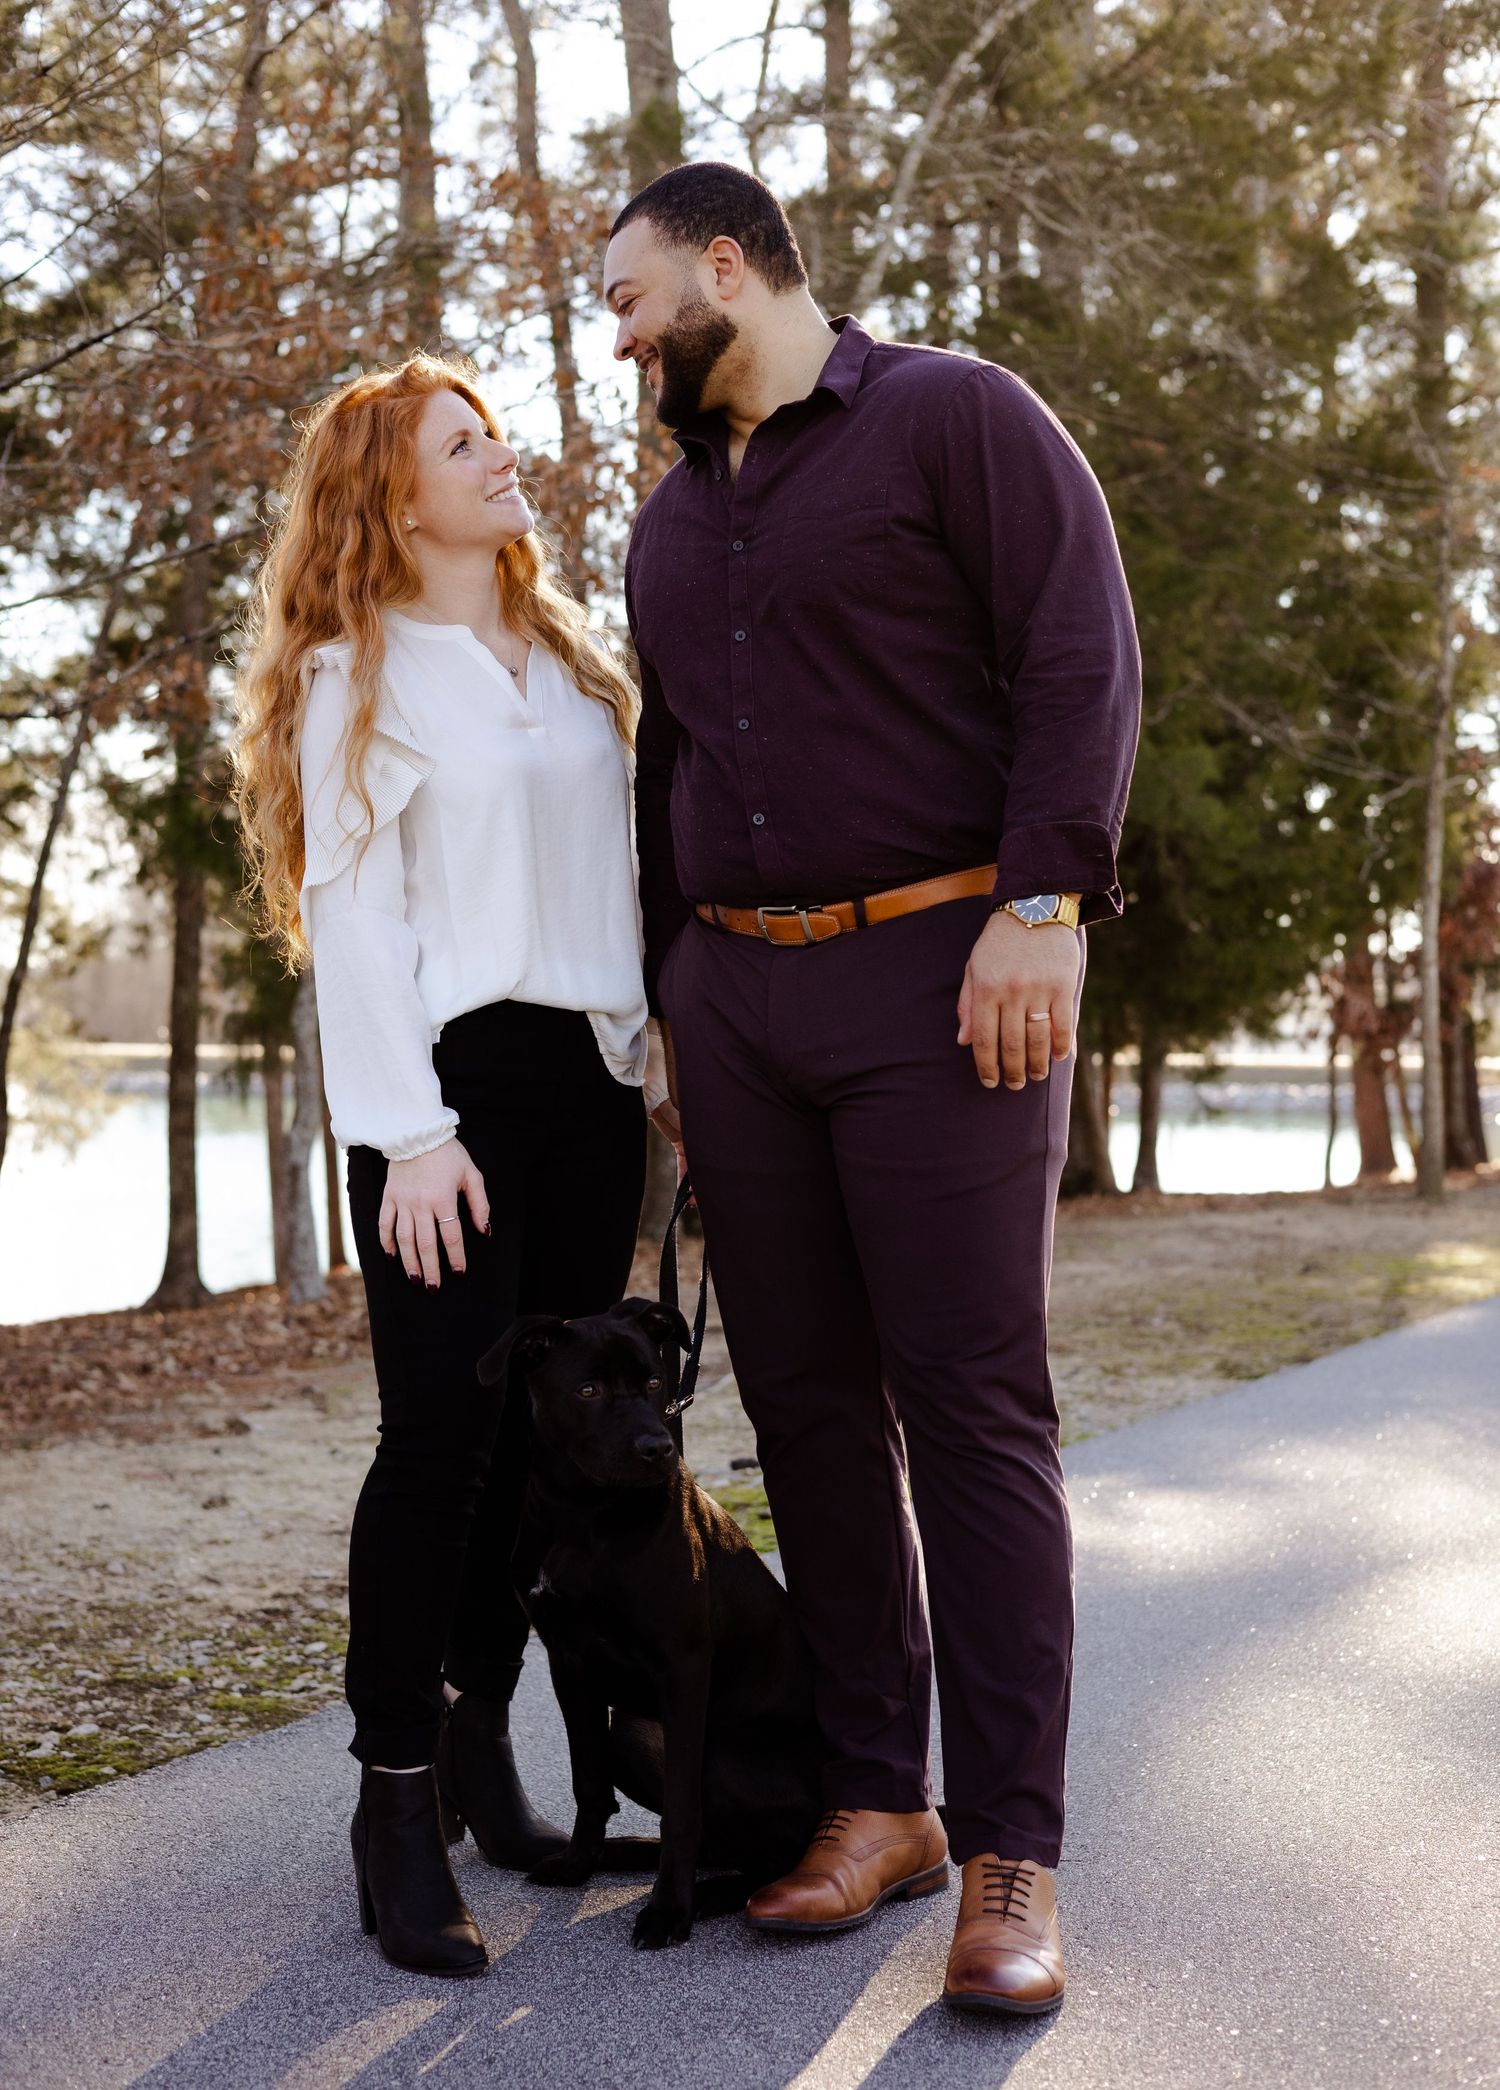
3. Backs to the sun!
A harsh light directly in your subject's face isn't the way to go. Find angles that shade the face and hide shadows. Usually your subject's backs angled to the sun will minimize shadows. Different hours of the afternoon will quickly change the ways those shadows fall - so work fast and be ready to move! In the picture below, I also cheated and used the groom to shadow the bride's face. The puppy is a little dark considering he's immersed in the shadow - but still a good boy nonetheless!
ISO 400, f/3.5, 1/600sec
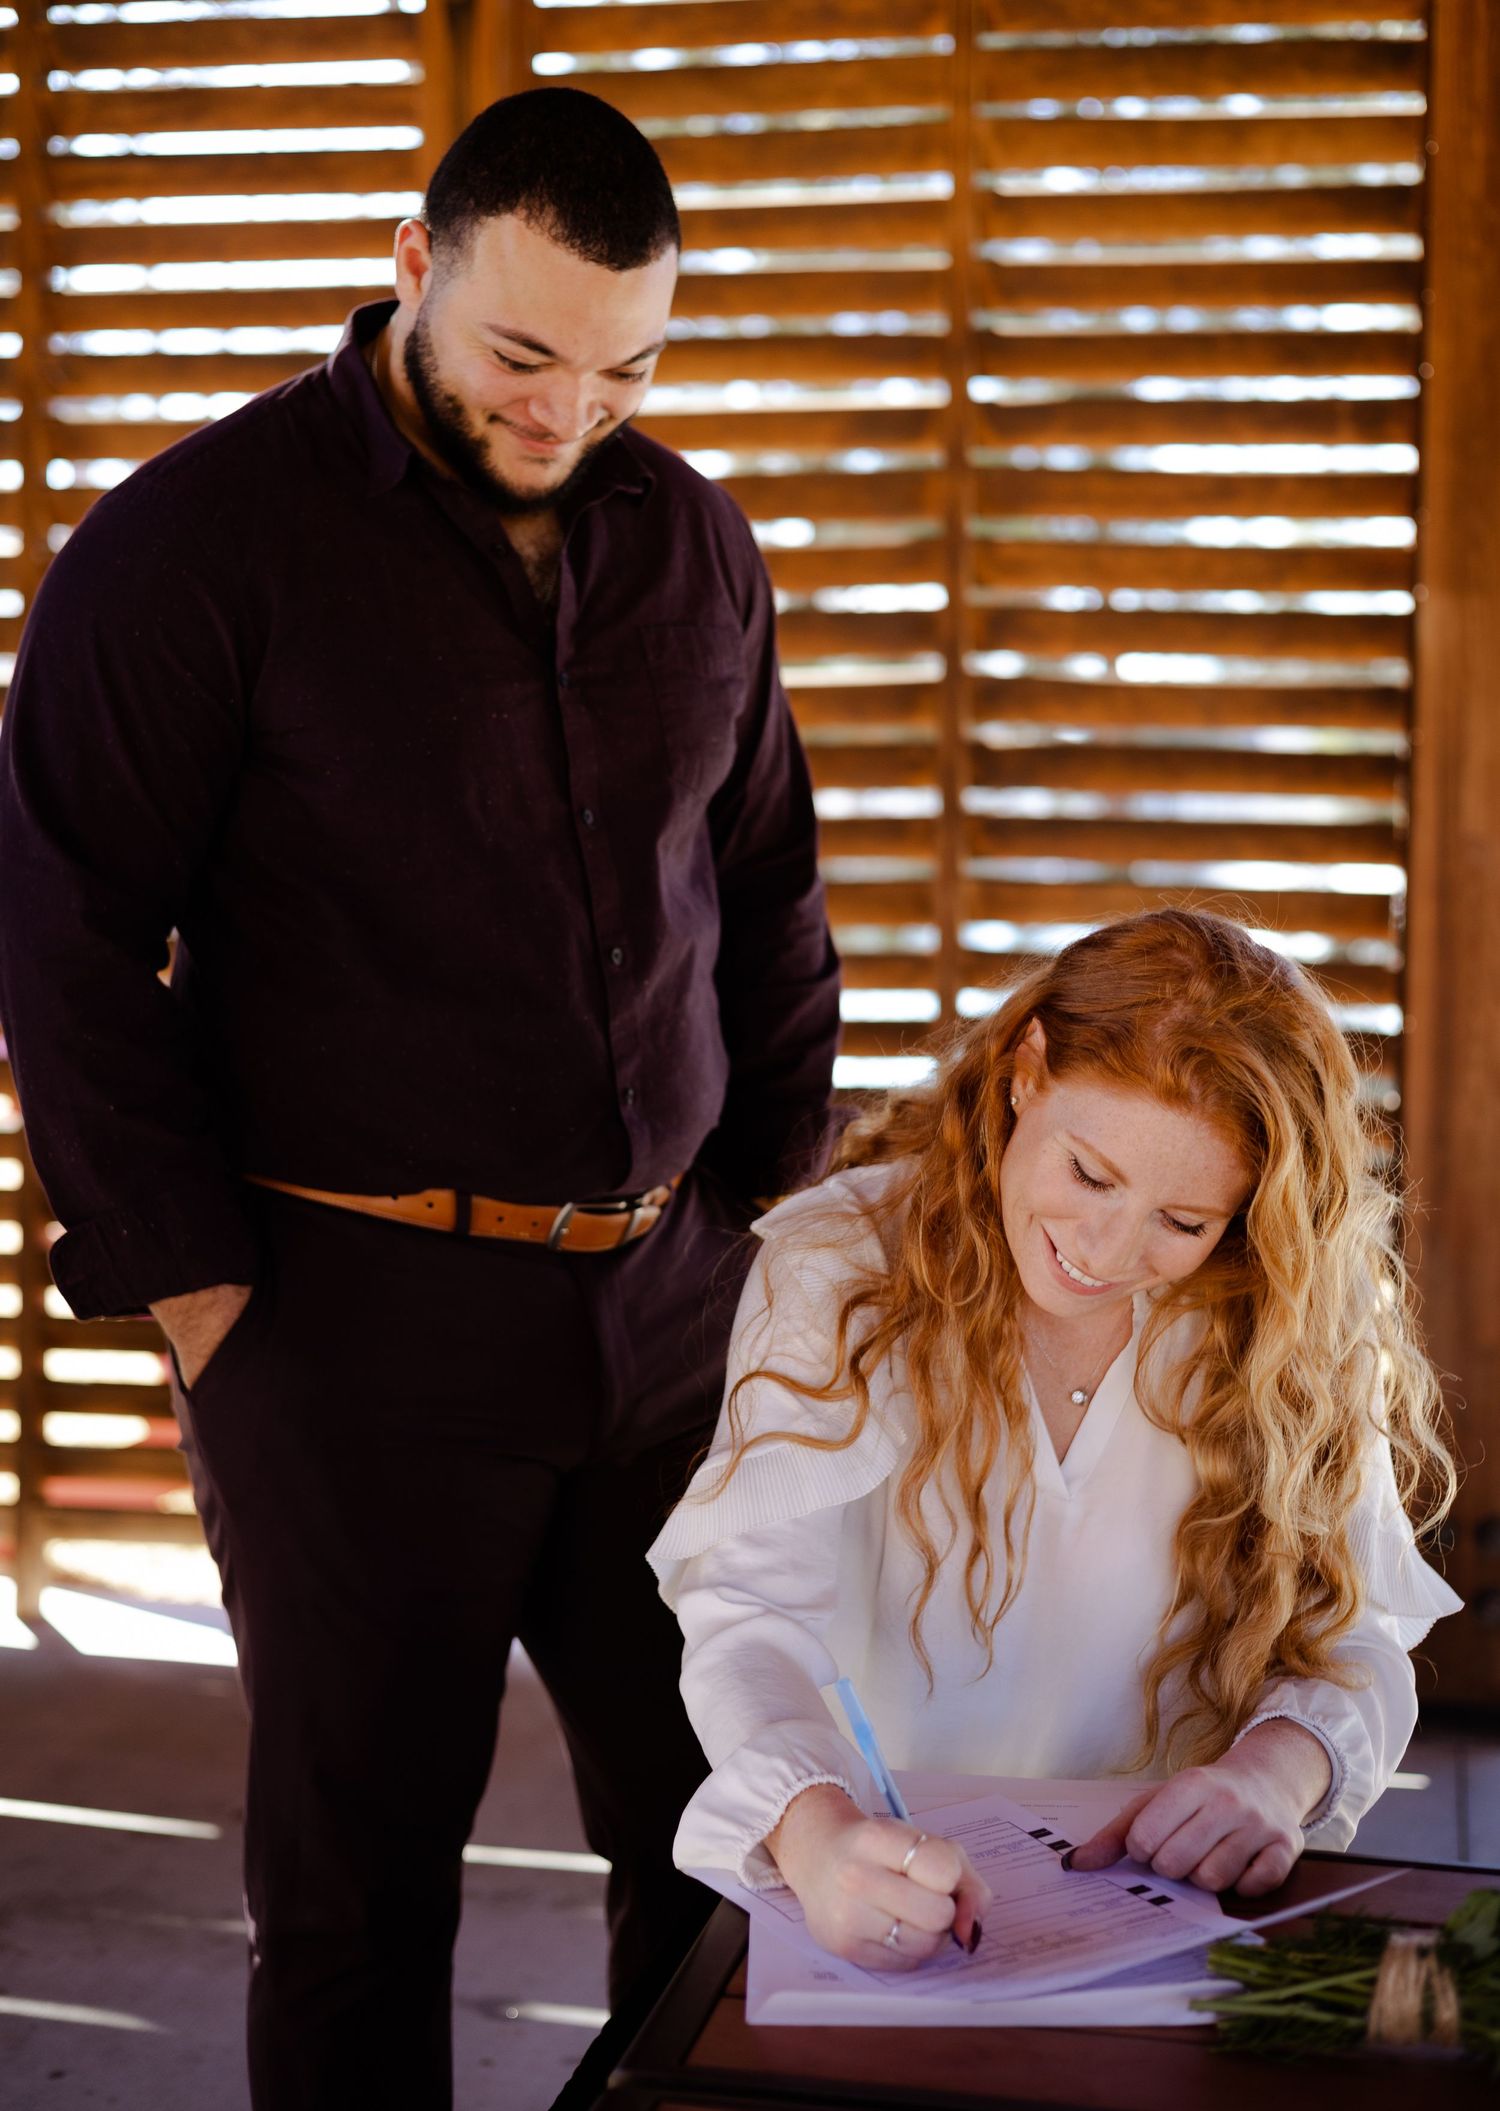
4. Find or create shade!
My most favorite tip is just finding as much shade as you can. There will always be shade somewhere, even at high noon. Take advantage of what you can find and use the shade to hide any unpleasant shadows on your subjects. The below photo showcases how I found a nearby pavilion and squished into the shaded corner to shoot the signing of the marriage license:
ISO 400, f/2.5, 1/400sec
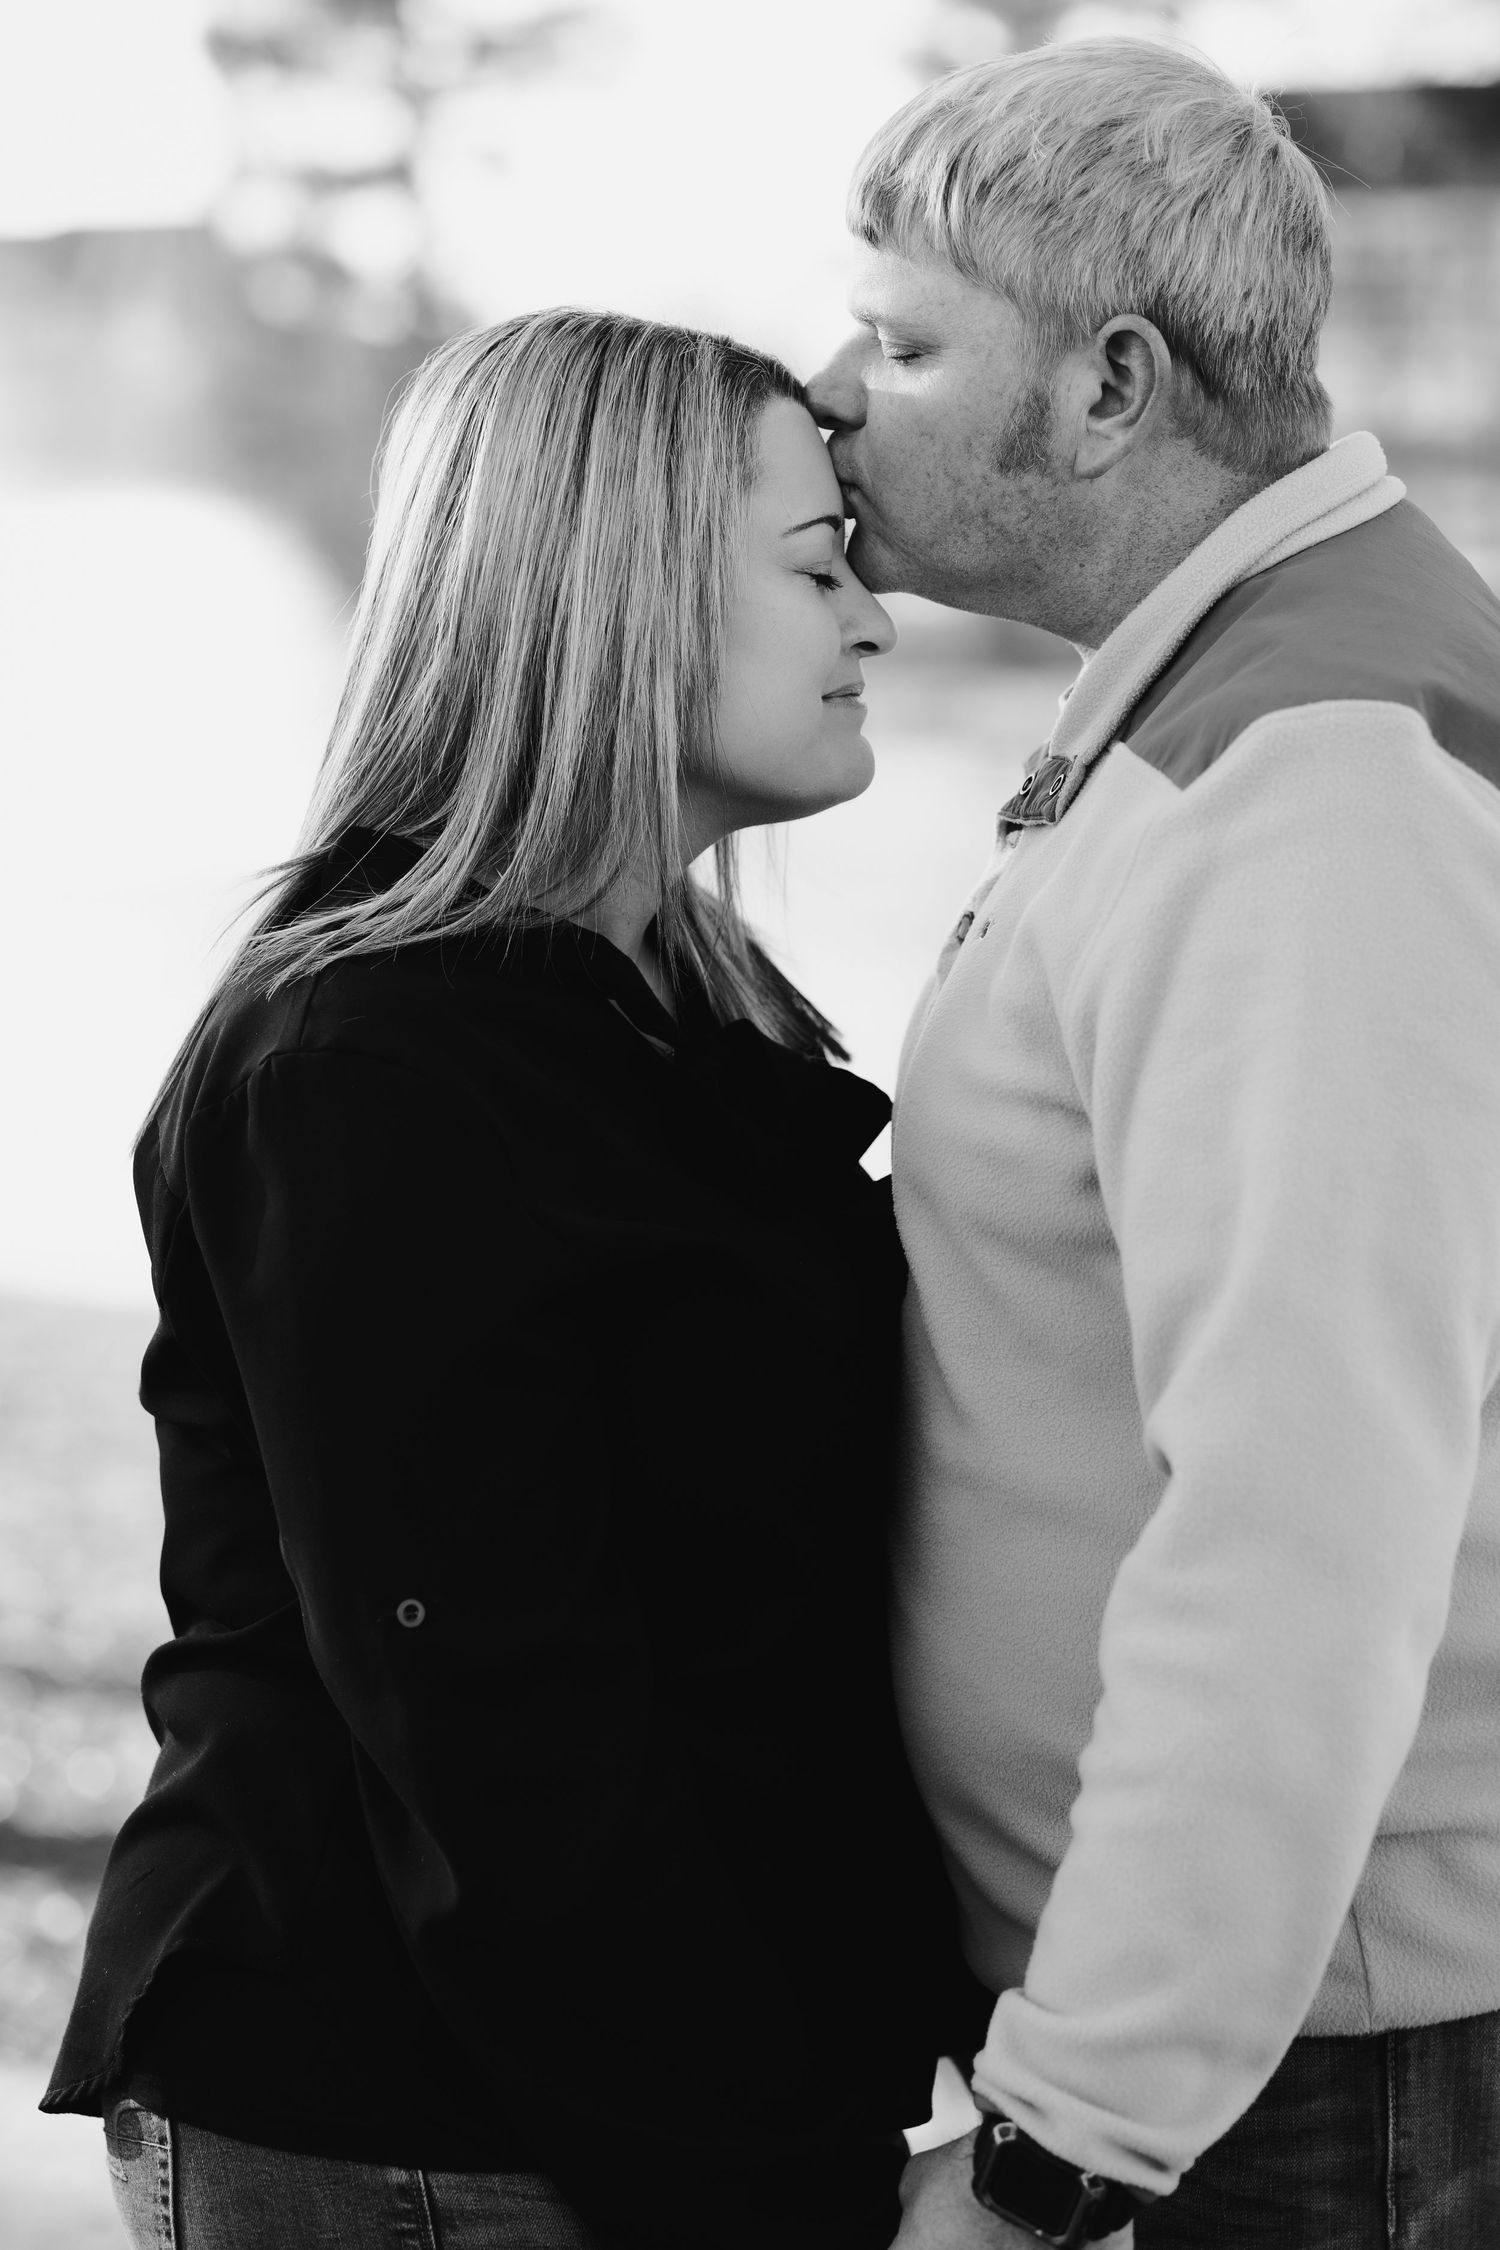
5. Try a black and white edit!
This for me is a great option post photoshoot. I have noticed that often times when I am not happy with the lighting in a photo, monochrome is the way to go. It can completely change the style & look of the photo and, in my opinion, can make it less "harsh." In this photo I also brought down the texture/clarity to soften up the overall look.
Happy shooting!
There you have it! 5 tips that have helped me to learn to be at peace with harsh light scenarios. Again, I am not perfect and I learn something new at every shoot - but I am proud with the confidence I have gained compared to many years ago!